03 Jul How To: Make A Jellyfish

How To Make A Jellyfish
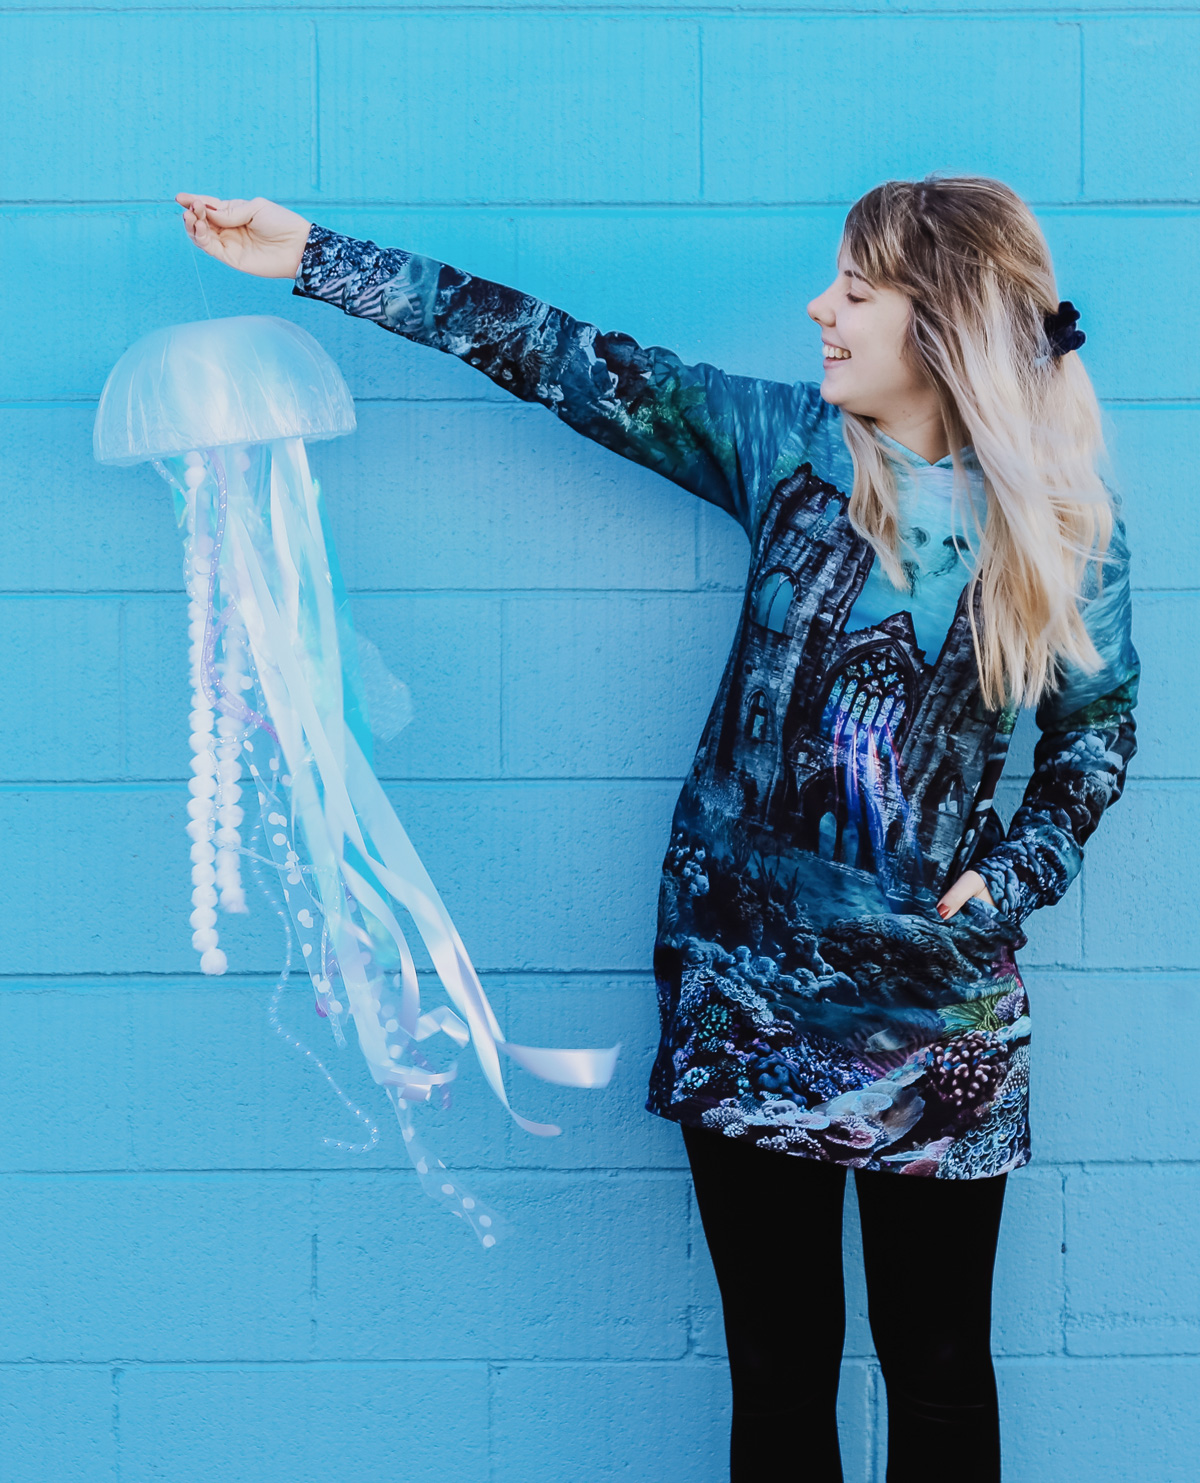
We featured these super cute jellies in our Journey To Atlantis lookbook back in 2018, and Eden, our stylist extraordinaire, is here to show you how to make one of your very own.
(And if this gets you in the mood for new ocean-themed gear – check out the Mermaid collection!)
Materials:
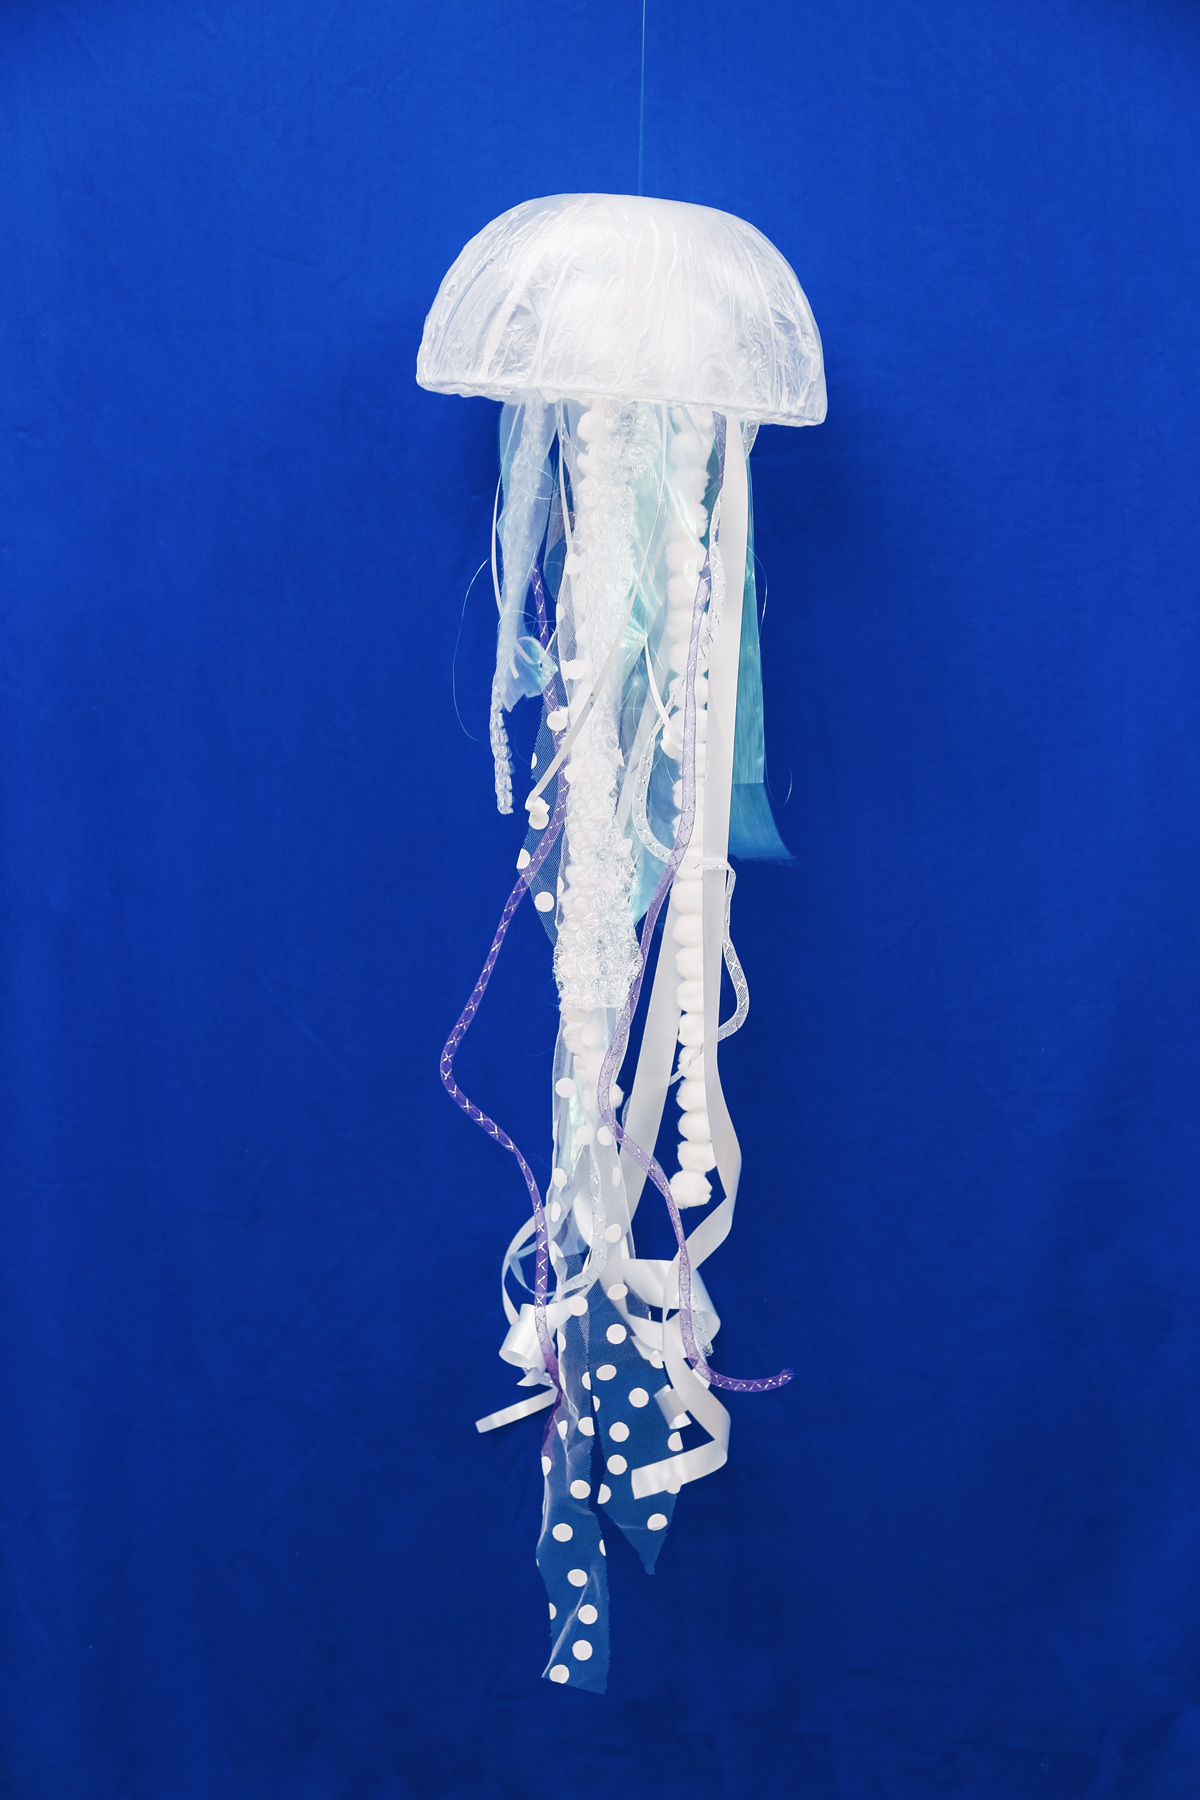
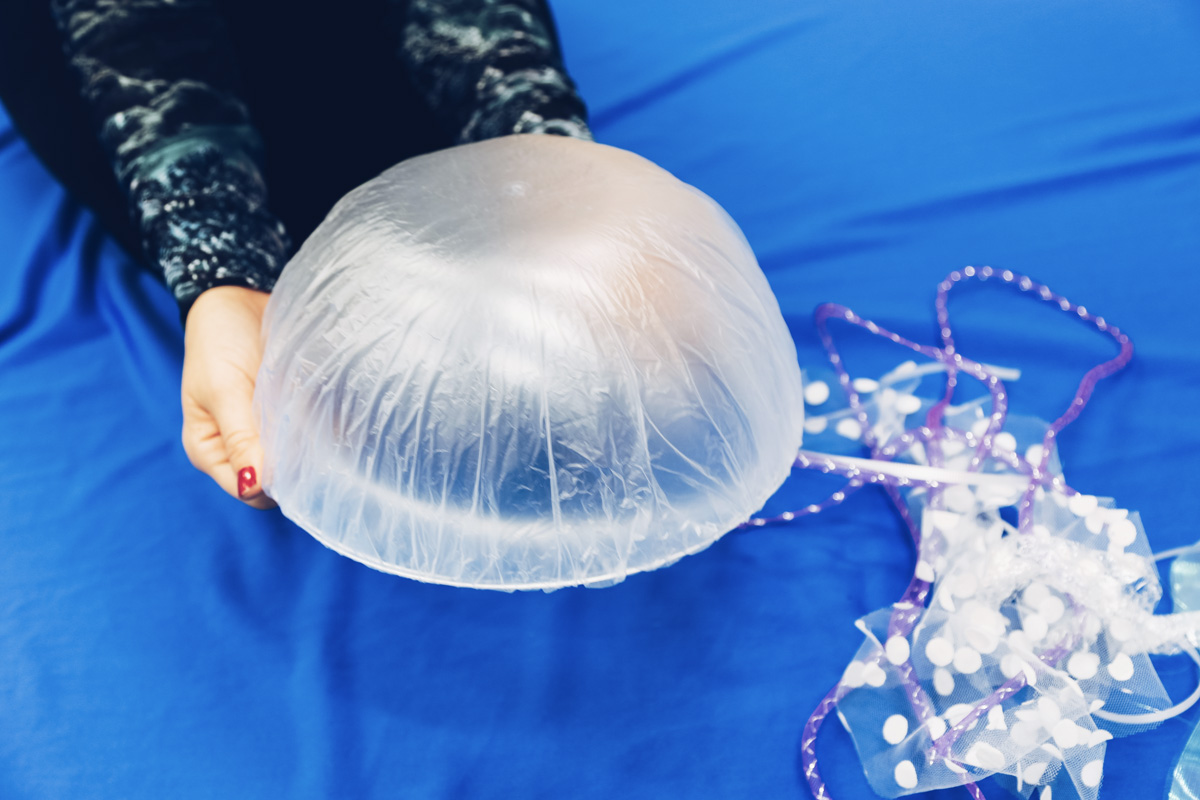
- Clear plastic bowl (we’ve used one with a 25cm radius which works best with the shower cap, but size is totally flexible)
- Plain transparent shower cap
- Fishing wire
- Pretty dangly bits! For example: ribbons, shiny fabric, pom poms, bubble wrap, cellophane – whatever you want to use!
Utensils:
- A metal skewer
- Scissors

1. Heat up your skewer on something hot (like a stovetop or over a flame – be careful!) and poke a hole in the top of the bowl – the hot skewer will melt the plastic and let you make the hole easily!

2. Take your plastic bowl and pop the shower cap over the top. Make a hole in the shower cap to meet the hole in the bowl.
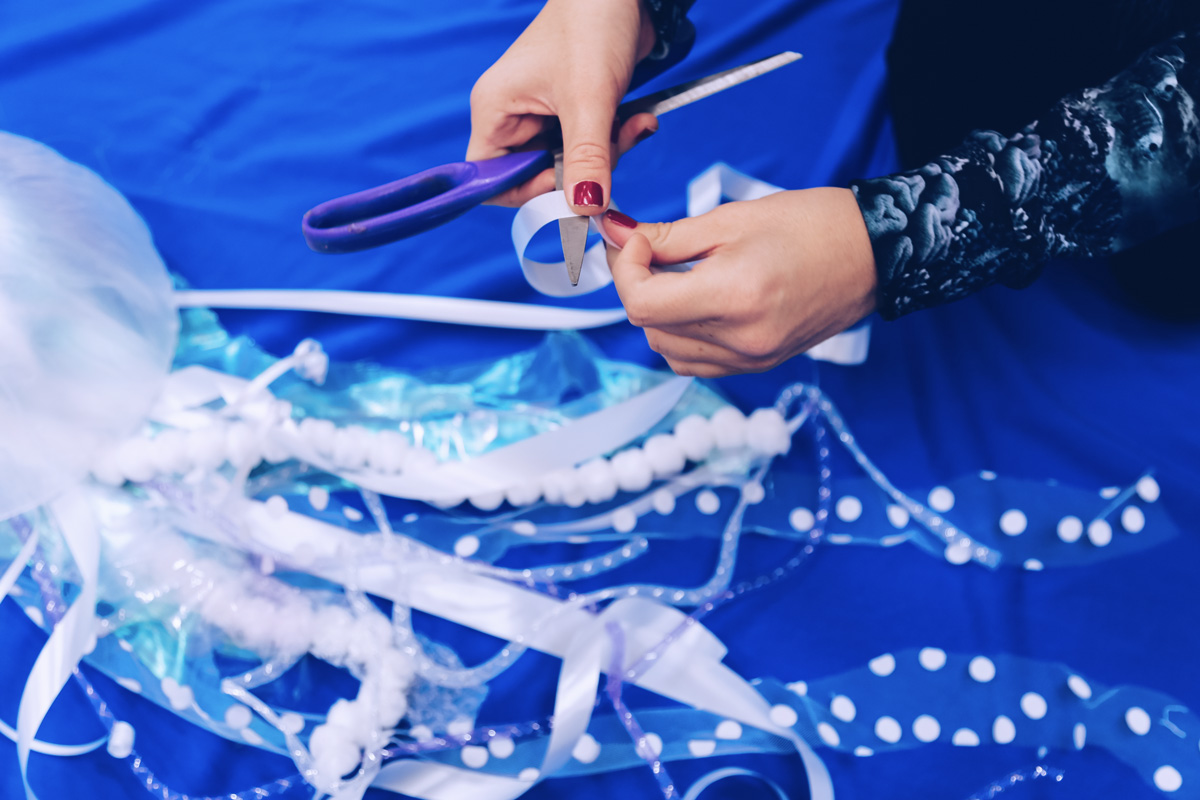
3. Cut lengths of your streamers, fabrics, ribbon and poms poms. mixing textures and lengths to create a one-of-a-kind jelly.
If you have larger pieces of fabric or bubble wrap, you can fold it up to make it quicker to cut multiple lengths. You can also try cutting some in a wavy shape for squiggly tentacles!


4. Once you have all the tentacles you want, bunch them all together and tie with a ribbon around the middle. Leave some length so the ribbon itself forms another jelly arm. You can give it a curl with some scissors too!


5. Take your fishing wire and loop it around the bundle, then thread the fishing wire through the hole in your shower cap and bowl.

6. Pull the fishing line through, tie it off and hang your jelly wherever you like – you could even add some battery-operated fairy lights to make it extra magical!